What do I need before installing?
- A Mac with macOS 13 Ventura or later (Apple Silicon, or Intel for releases with an Intel build), a Windows 10 or 11 PC with an x64 processor, or an x64 Linux computer.
git. On a Mac, ifgit --versionasks you to install the Command Line Tools, accept. On Windows, install Git for Windows, whose Git Bash runs your scripts and, when it is there, Claude Code’s shell commands. On Linux, installgitfrom your distribution’s packages.- At least one coding agent installed and signed in: Claude Code, Codex, Grok Build, OpenCode, Gemini CLI or another ACP agent. microManager runs the CLIs you already have; it does not bundle them or sign you in to them.
- The GitHub CLI (
gh), signed in withgh auth login, if you want to create, check and merge pull requests from the app.
There is no microManager account to create.
How do I install microManager?
The download page has every file, the requirements for each system and how to check a download yourself.
On a Mac
Download the Apple Silicon DMG (or the Intel DMG when a release has one), open it and drag microManager into Applications. Mac releases are signed with a Developer ID and notarized by Apple. Or install from Terminal:
curl -fsSL https://micromanager.win/install.sh | shThe script, which you can read before you run it:
- checks that it is running on macOS and picks the Apple Silicon or Intel build,
- downloads the newest zip from
micromanager.win/releases/mac/, - checks the zip’s SHA-512 against the release manifest
latest-mac.yml, - checks the app’s code signature and its Apple developer team,
- installs it as
/Applications/microManager.app, asking first if a copy is running, and - opens it.
It uses sudo only if your user cannot write to /Applications. Set MICROMANAGER_INSTALL_DIR to install somewhere else, such as ~/Applications, and MICROMANAGER_NO_OPEN=1 to skip opening the app at the end.
On Windows
Paste this into PowerShell:
irm https://micromanager.win/install.ps1 | iexThe script downloads the newest installer from micromanager.win/releases/win/, checks its SHA-512 against the release manifest latest.yml, and runs it for your user only, without administrator rights.
Or download the Windows installer and run it yourself. The installer is not code-signed yet, so SmartScreen may warn about an unknown publisher; the download page shows how to check the file first.
On Linux
Paste this into a terminal:
curl -fsSL https://micromanager.win/install.sh | shThe same script as on a Mac downloads the newest AppImage from micromanager.win/releases/linux/, checks its SHA-512 against latest-linux.yml, installs it as ~/.local/bin/micromanager and adds it to your applications menu, all without sudo.
Or download the AppImage, make it executable with chmod +x and run it, or install the .deb on Debian or Ubuntu with sudo apt install ./FILE.deb.
What happens the first time I open it?
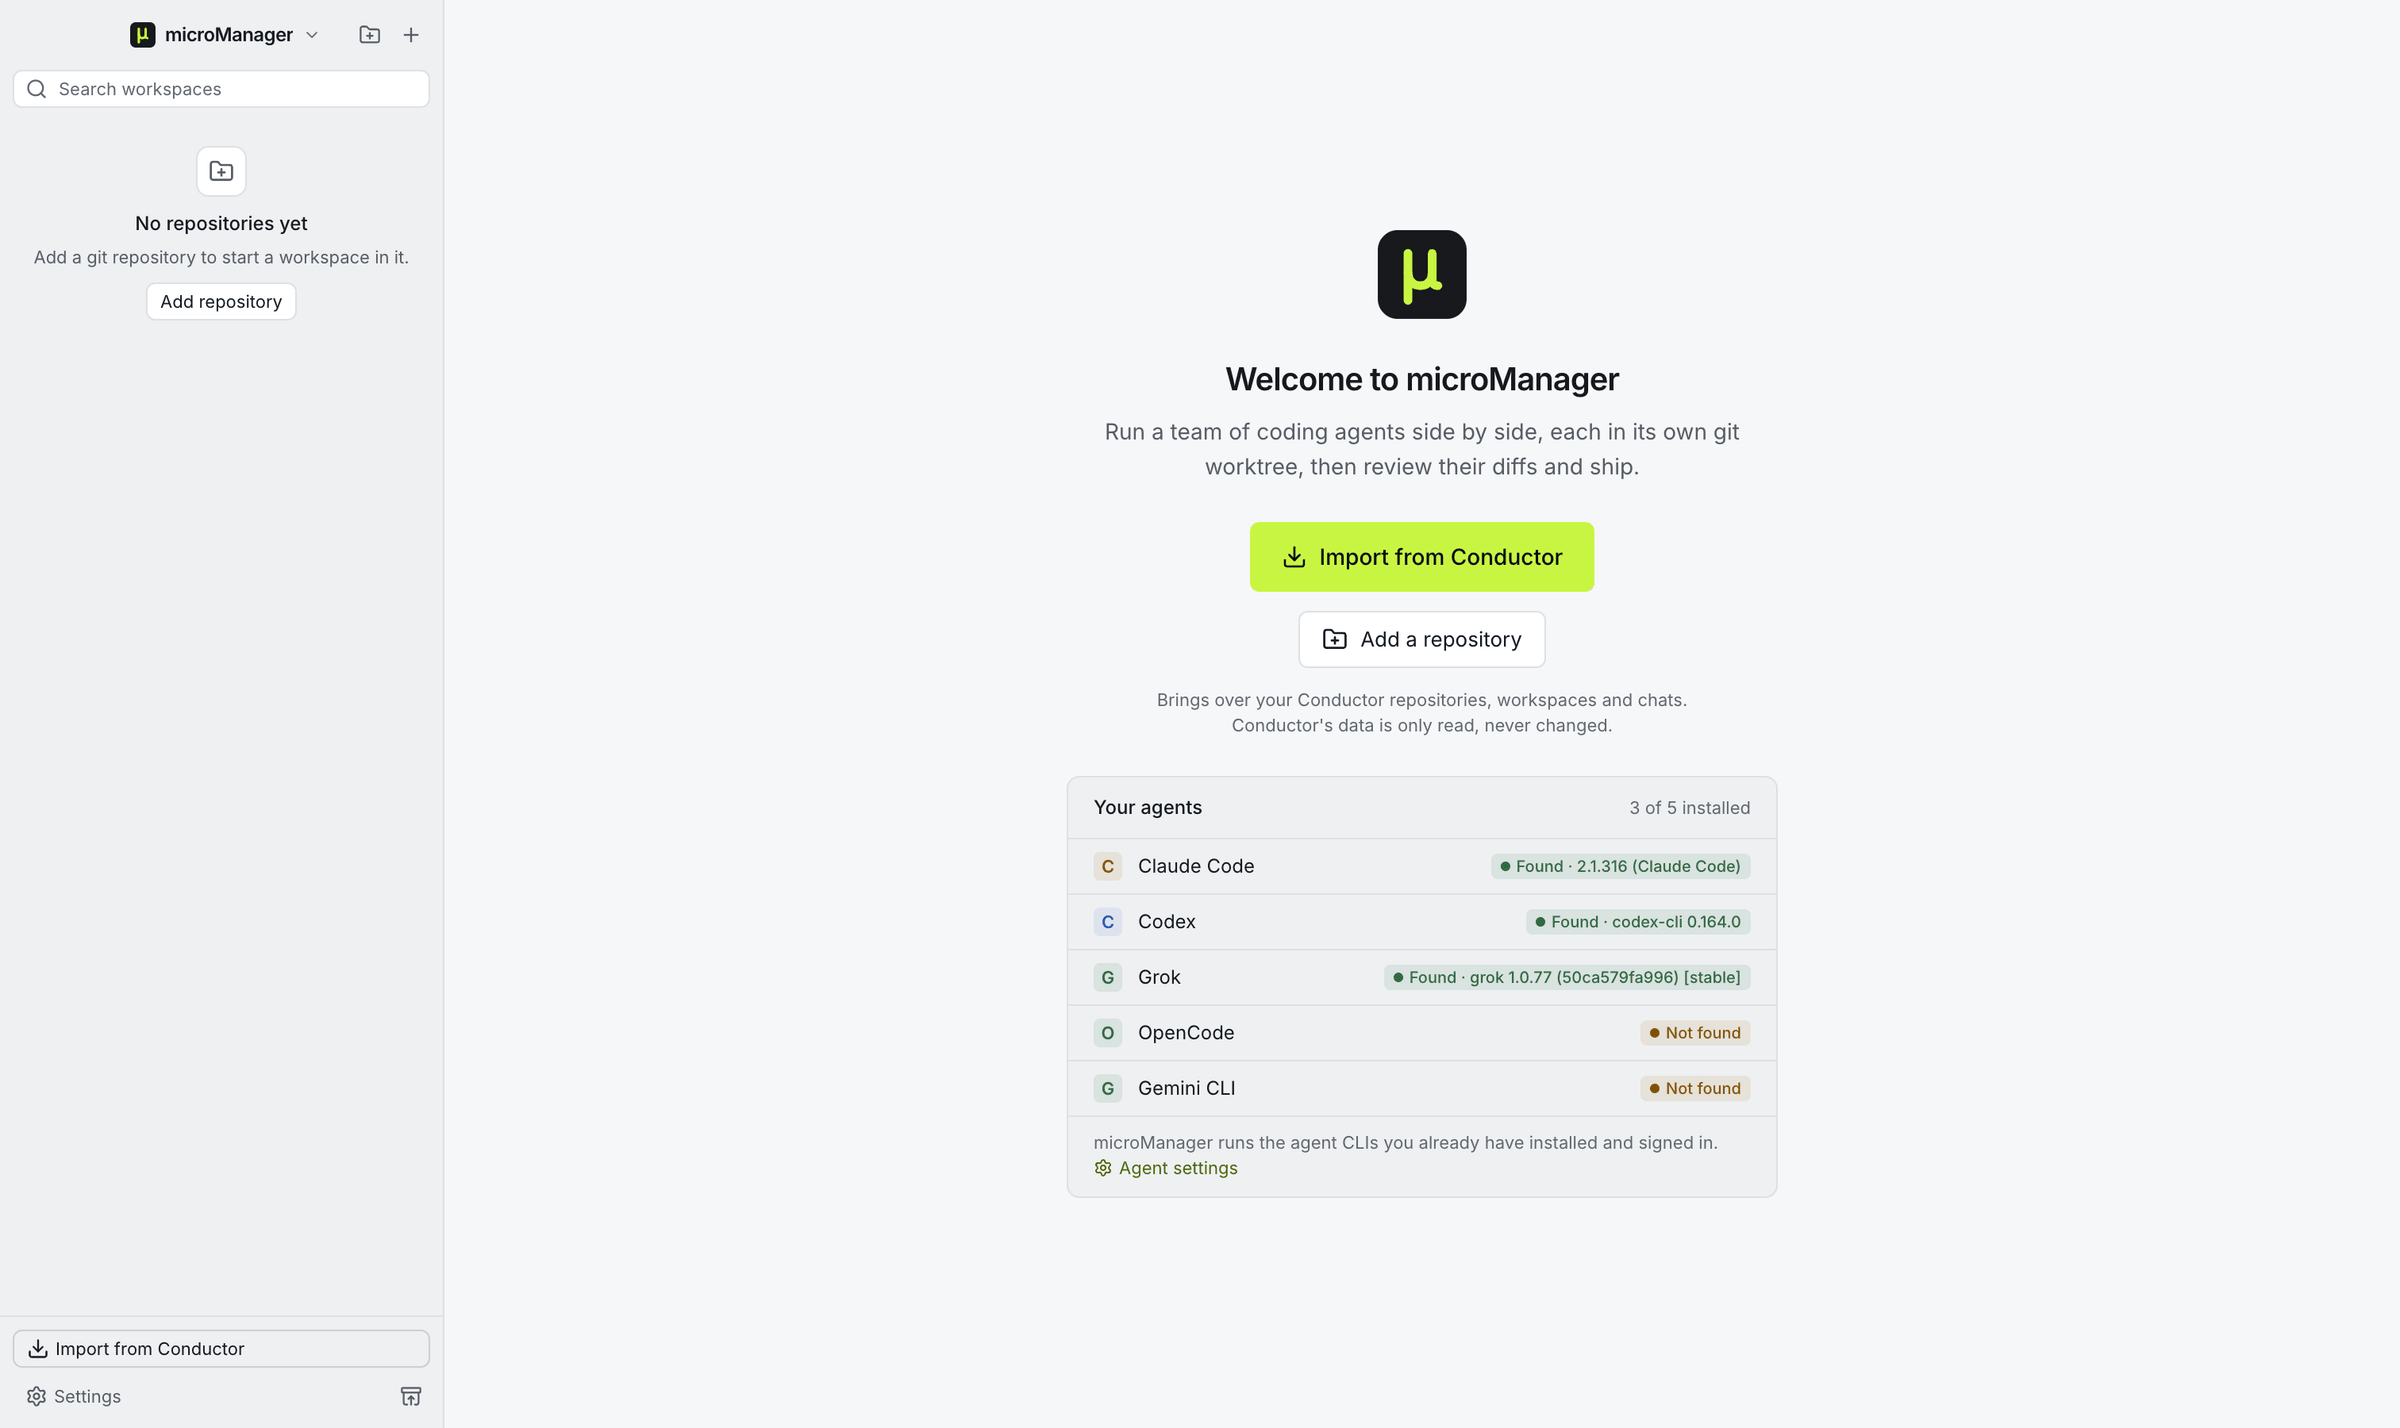
With no repositories added yet, microManager shows which agent CLIs it found on your PATH (your login shell’s on macOS and Linux) and whether each one runs. On a Mac where it finds Conductor’s data, it offers Import from Conductor; otherwise, or as well, choose Add a repository.
How do I bring over my Conductor setup?
On the Mac where you used Conductor, choose Import from Conductor. microManager reads Conductor’s local database read-only and shows a preview: your repositories, each with a switch to include it, how many workspaces and chats it found, and whether it found your Conductor settings. Import keeps every workspace where it is on disk, so your branches and uncommitted work stay exactly as they were. The migration guide covers each step and what carries over.
How do I add a repository?
Choose Add a repository (or press ⌘O, Ctrl+O on Windows and Linux), then either pick a folder on your computer that is a git repository, or choose Clone from URL, paste the URL and pick the folder to clone it into. microManager reads the repository’s default branch and any settings files it contains, including Conductor’s .conductor/settings.toml (repository settings).
How do I start my first workspace?
Press ⌘N (Ctrl+N on Windows and Linux), or New workspace in the sidebar, and choose:
- the repository,
- the branch to start from (searchable; the repository’s default branch unless you pick another),
- optionally, a name (otherwise the workspace is named from your first message),
- the agent, its model, effort and permission mode, and
- optionally, a first message for the agent.
microManager then creates a git worktree on a new branch, copies your ignored files such as .env into it, reserves ten ports for it, runs your setup script in the background and opens a chat with the agent. The workspaces page explains each of those steps.
How do I work with the agent?
Type in the message box at the bottom of the chat. You can paste or drag in images, mention files with @ (with fuzzy search over the worktree), and use the agent’s own slash commands, which pass straight through. Pickers along the bottom of the box set the model, the effort level and the permission mode (Ask first, Accept edits, Plan, Auto or Bypass permissions).
A message you send while Claude Code or Codex is working is added to the running turn, and the agent reads it at its next step; Alt+Enter queues it for when the turn ends instead (other agents always get it queued), and Send now on a queued message interrupts the turn. Press Esc in an empty message box to stop the running turn. When the agent asks permission to run a tool, or asks you a question, a card appears in the chat for your answer.
Open more tabs with ⌘T (Ctrl+T) to run several sessions, even different agents, in the same workspace.
How do I review and ship the work?
The Changes panel lists every changed file with its added and removed lines, against the branch it will merge into (its target branch) or just the uncommitted work. Open a file to read the diff, click a line number to leave a comment, then Send to agent (it counts your open comments: Send 2 to agent). When you are happy, Create PR asks the agent to commit, push and open the pull request with gh; the Checks panel follows its CI, and Merge… in the pull request button’s menu merges it. See diff review and pull requests.
How does microManager update itself?
It checks micromanager.win/releases/ for its system when it starts and every six hours, downloads a new version in the background, and shows Restart to update when it is ready. That covers the Mac app, the Windows app, the Linux AppImage and the .deb; updating the .deb asks for your password, because it installs the new package for the whole system.